As I’ve been doing my AWS training I’ve needed to SSH in Linux machines quite often for tutorials. Every time the videos for these tutorials have said to use PUTTY when using Windows which I hate.
Windows 10 has had a bash shell for a while now, which I have been using for SSH and which works very well. What some people may not be aware of is that Microsoft added a full native OpenSSH client to the Windows 10 2018 spring update.
To use it you need to enable the Windows feature. You do this bu going into settings and searching for features and selecting “Manage Optional Features”.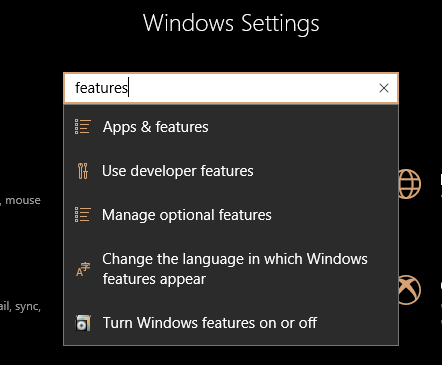
Click the + button at the top and find OpenSSH Client in the list and click install. That’s it you now have a ssh client that you can run from Powershell or CMD.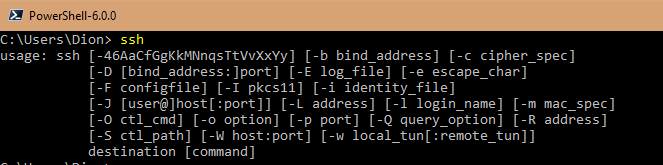
The last thing you might need to do is if your private key is password protected and you want to add it to the ssh-agent.
1 | Get-Service ssh-agent |
All done, you can now use OpenSSH for you Git client as well as logging into Linux machines.